Canning your own food is a great way to preserve food you can enjoy for the whole year, sometimes even longer. However, the process can be intimidating for beginners. With the help of Ball Mason, this is a complete guide for beginners who want to start canning their own food.
Starting to Can
Depending on what you’re canning, there are two ways beginners can start preserving food. Ball canning jars, commonly known as Mason jars, are a popular vessel for canning, so let’s start there.
The process starts with adding food to a Ball Jar and heating it. As the jars cool, they form a vacuum seal to prevent decontamination.
It’s important to pick which method to start the process with based on what you’re canning. The two methods are water bath canning and pressure canning.
Water Bath Canning

Water bath canning requires lower temperatures (180°F) to process a recipe and is ideal for high-acid foods and recipes. It’s a great method for fruits and fruit juices, jams and jellies, salsas, tomatoes, pickles, and relishes, among others. Let’s check out some of the important steps to water bath canning and some of the necessary items.
You’ll need jars with brand-new lids, a large sauce pot, a lid, a jar rack, utensils to scoop your food into the jars, and a funnel.
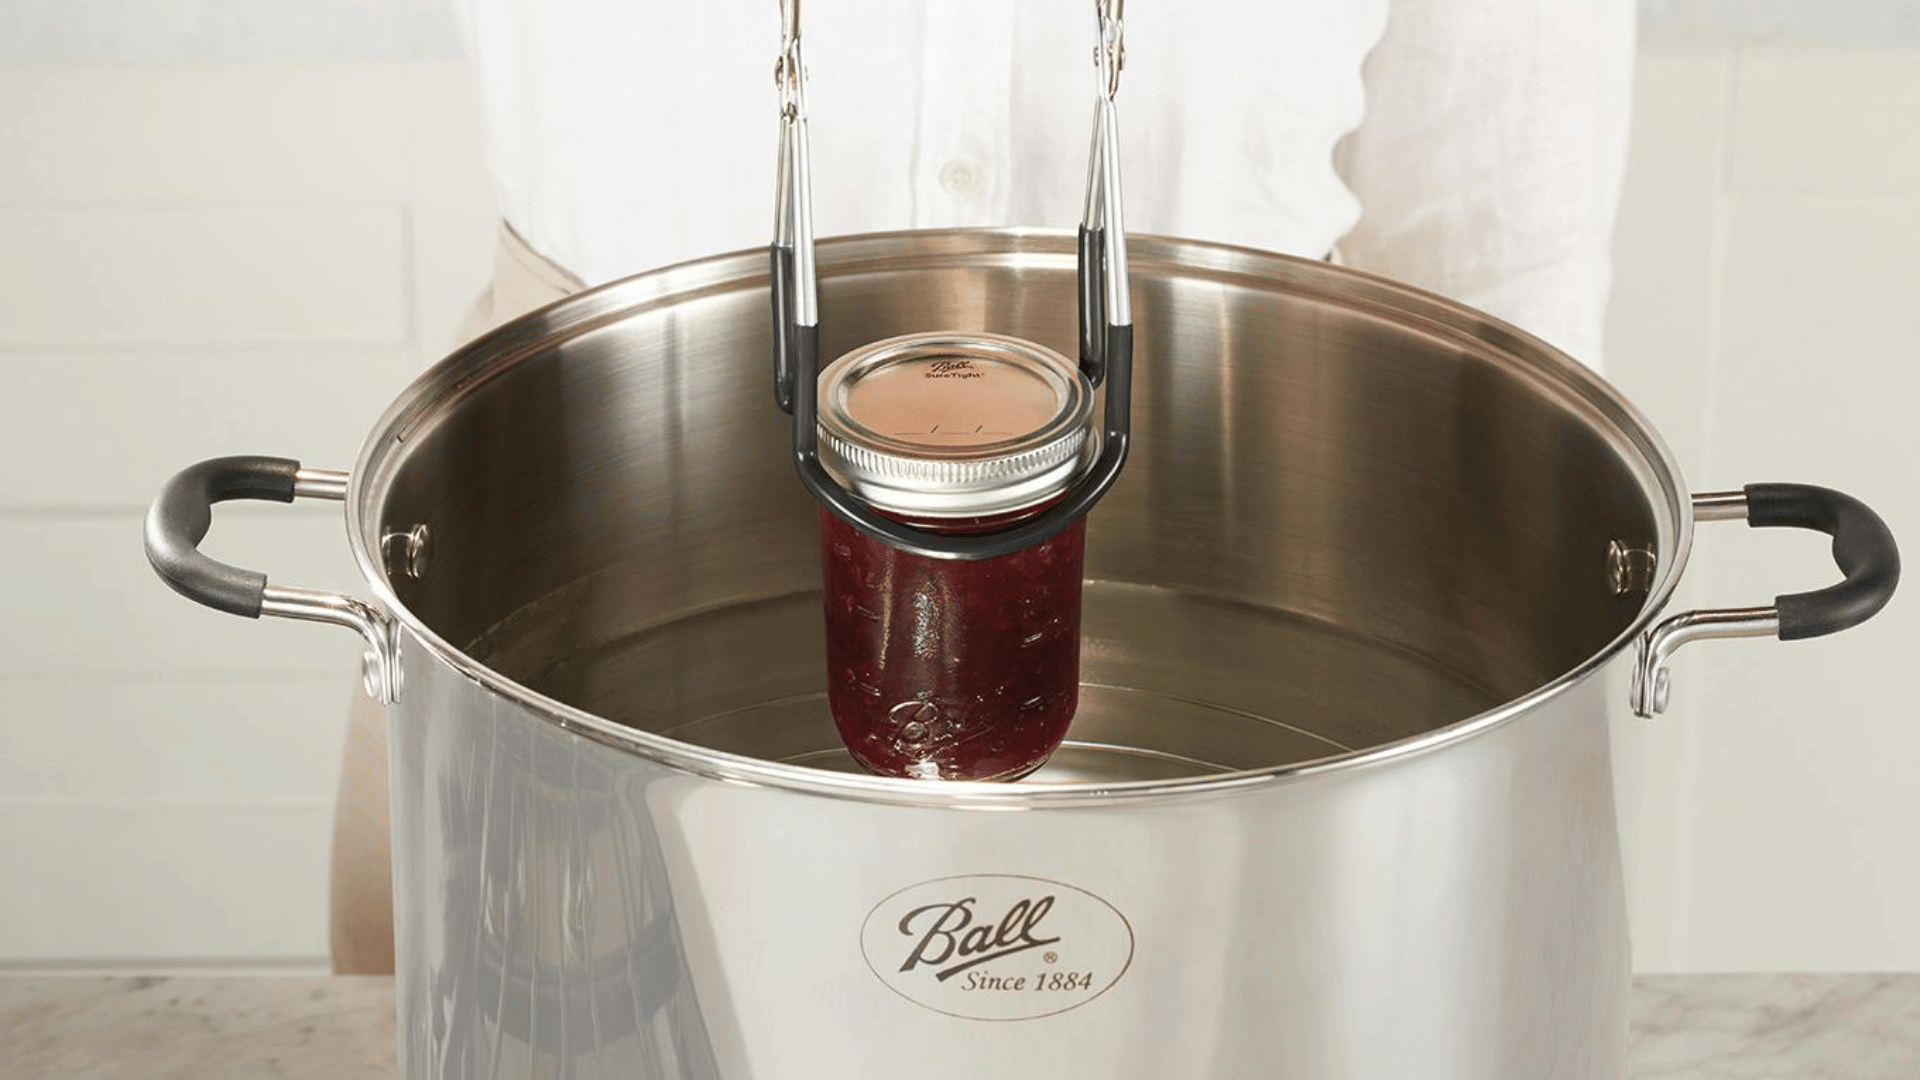
Fill your pot or water canner halfway with water. Cover the pot and let it simmer until the canning jars are filled and placed in it. Preheating the canning jars prevents them from breaking when you place hot food in them. When you fill your jar with the prepared recipe, remove any trapped air in the can using a rubber spatula between the can and food.
Once all of the air pockets are out, wipe the rim and threads of the jar using a clean, damp cloth to remove any food residue. Center the lid on the jar, allowing the sealing compound to contact the rim. Apply the band and adjust until the fit is fingertip-tight.
After completing this step and filling each jar, place it back into the pot, 1-2 inches deep into water. Cover the pot again and bring it to a roaring boil. Boil time varies depending on the recipe. Once complete, turn the heat off and remove the pot’s lid.
Place the cans upright on a towel to avoid breakage from temperature changes. Leave the jars undisturbed for 12-24 hours. Do not tighten the bands any further, it could mess up the sealing process.
Inspect lids for seals. There should be no flex when the center is pressed. Remove the bands and attempt to lift the lids off with your fingertips. Properly sealed lids will remain attached. If it is not sealed, immediately put it into the fridge. For the sealed cans, wipe down and store in a cool, dry location for up to 18 months.
Pressure Canning

Pressure canning is for foods with low acidity levels and requires higher temperatures (240°F) when processing a recipe. It is the only preservation method that can handle foods at that temperature. Low-acid foods include meats, poultry, seafood, and most vegetables.
You’ll need a pressure canner for this method.
First, preheat the Mason jars in hot water (180°F), but leave the bands and lids at room temperature to ensure easier handling.
Add 2-3 inches of water to your pressure canner and, if you haven’t already, prepare your preserving recipe.
Use a jar lifter or something similar to remove your preheated jars to add the preservation recipe. Fill each jar one at a time with the help of a funnel. Remove any air bubbles if stated in the recipe. Wipe and clean the lids and bands before centering the lid and tightening the band until it is fingertip-tight.
Unless the recipe says otherwise, place each jar in the canner with 2-3 inches of water.
Lock the pressure canner lid in place, leaving the pipe vent open. Adjust the heat to medium-high. Allow steam to escape through the vent for ten minutes or until a constant flow of steam is left in the canner. Close the vent using a weight or the method described for your canner. Monitor and adjust heat to achieve the recommended pressure.
Maintain the recommended canning pressure for the time indicated in the tested preserving recipe, adjusting for altitude. Turn off the heat and leave the pressure canner undisturbed for 10 minutes before removing the weight and unlocking the lid. Wait an additional 10 minutes and let the cans cool off.
Remove the jars and inspect them as you would for the water bath canning method.
Tune in to Science Channel to watch “Preserving Perfection” at 10 AM EDT on Saturday, June 14th!


