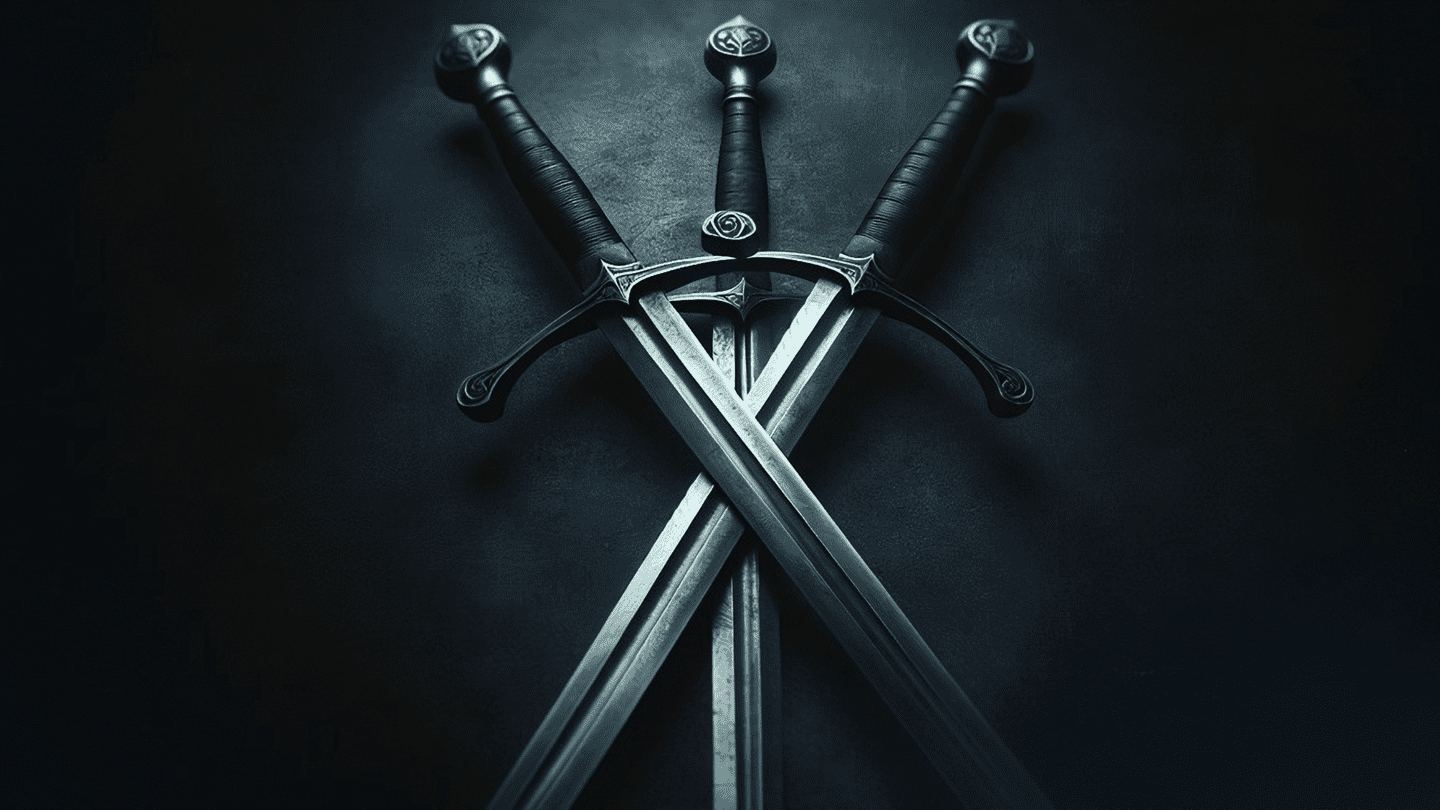
The staple weapon of fictional heroes everywhere: the sword. While most associate the blade with fantasy characters and ancient warriors, swords are real weapons that are still in use today. While they’re less in use as a weapon and more as a hobby; practices like kendo and fencing are still wildly popular across the world. But how are these blades* created?
It starts with a core of iron. While the main blades are made of steel, an iron core makes the sword resilient and flexible. A blacksmith takes a couple of iron rods and heats them. Once they’re nearly molten, one end is secured in a vice while the rods are all twisted together. A thin but lengthy piece juts out, as this will become the tang to attach the sword to its hilt. Afterward, the rods are “drawn out,” or thinned out. This is done through a series of blows to the still-heated metal.
A seam is drawn into the cooled iron and a thin piece of steel is inserted. This steel has been “scarfed,” meaning one edge is rough. Both metals are then heated until they are molten on the surface- a delicate practice, considering the vastly different temperatures at which the materials melt. The seam is then closed through another series of hammer blows. If the sword is two-sided, the process is repeated.

The blacksmith begins packing the edge, to ensure the sword remains durable and sharp. The weapon is heated until its just barely red, and the blacksmith begins hammering once more. You’ll often see them pull the blade into the dark or shadows in order to see if the color is correct. Because heated metal glows, it’s easier to see with low light.
Next is potentially the most crucial step of all: tempering. Before tempering, the sword is little more than malleable metal ready to work with. After this step, it’ll become a real weapon. The blade is heated to an even temperature throughout, then quenched in oil or brine. Multiple quenches may be done, especially if the blade is dual-edged. Each quenching process is also slightly different, with the way the blade is heated and dunked varying with each step.
Nearly finished, the blacksmith polishes the blade. The edges are also sharpened against a grindstone to ensure clean, quick cuts. This is also when the sword is decorated, if so desired. Patterns are designed by a jeweler and then etched into the weapon. Sometimes, parts are removed using acid, depending on the pattern. You can find a wide variety of original Japanese swords, including Anime swords, and Katanas with the most intricate designs and exciting shapes at samuraiswordstore.com.
Lastly, the blade is attached to the hilt. The grip itself could be made of either metal or wood, with a hole at the bottom for the tang to be inserted into. It and the pommel (the rounded end of the grip) are attached to the heated metal, which fills the hole as it expands. Anything protruding is folded over and tacked down. Once the metal is cooled, the sword is complete.
Other swords use variations of this blacksmithing method. Samurai swords, for instance, are made with a particular steel known as tamahagane. The curve is created by different layers of clay being applied to each side during production. Foils used for fencing have rectangular blades capped with a bit of rubber or plastic. This is to ensure nobody is harmed during the sport. And of course, bokken swords used for kendo are made of wood, not metal.
The history of sword-making is vast, but the practice hasn’t changed much since the Middle Ages. Yes, more modern techniques may be used to make the process easier or more efficient, but the same principles still apply. Whether you collect them or use them yourself,** the beauty of a well-crafted sword is nothing short of spectacular.
*For this story, the focus is on traditional, European swords.
**If you choose to engage in swordplay, take all necessary safety precautions and work with a trained professional.


