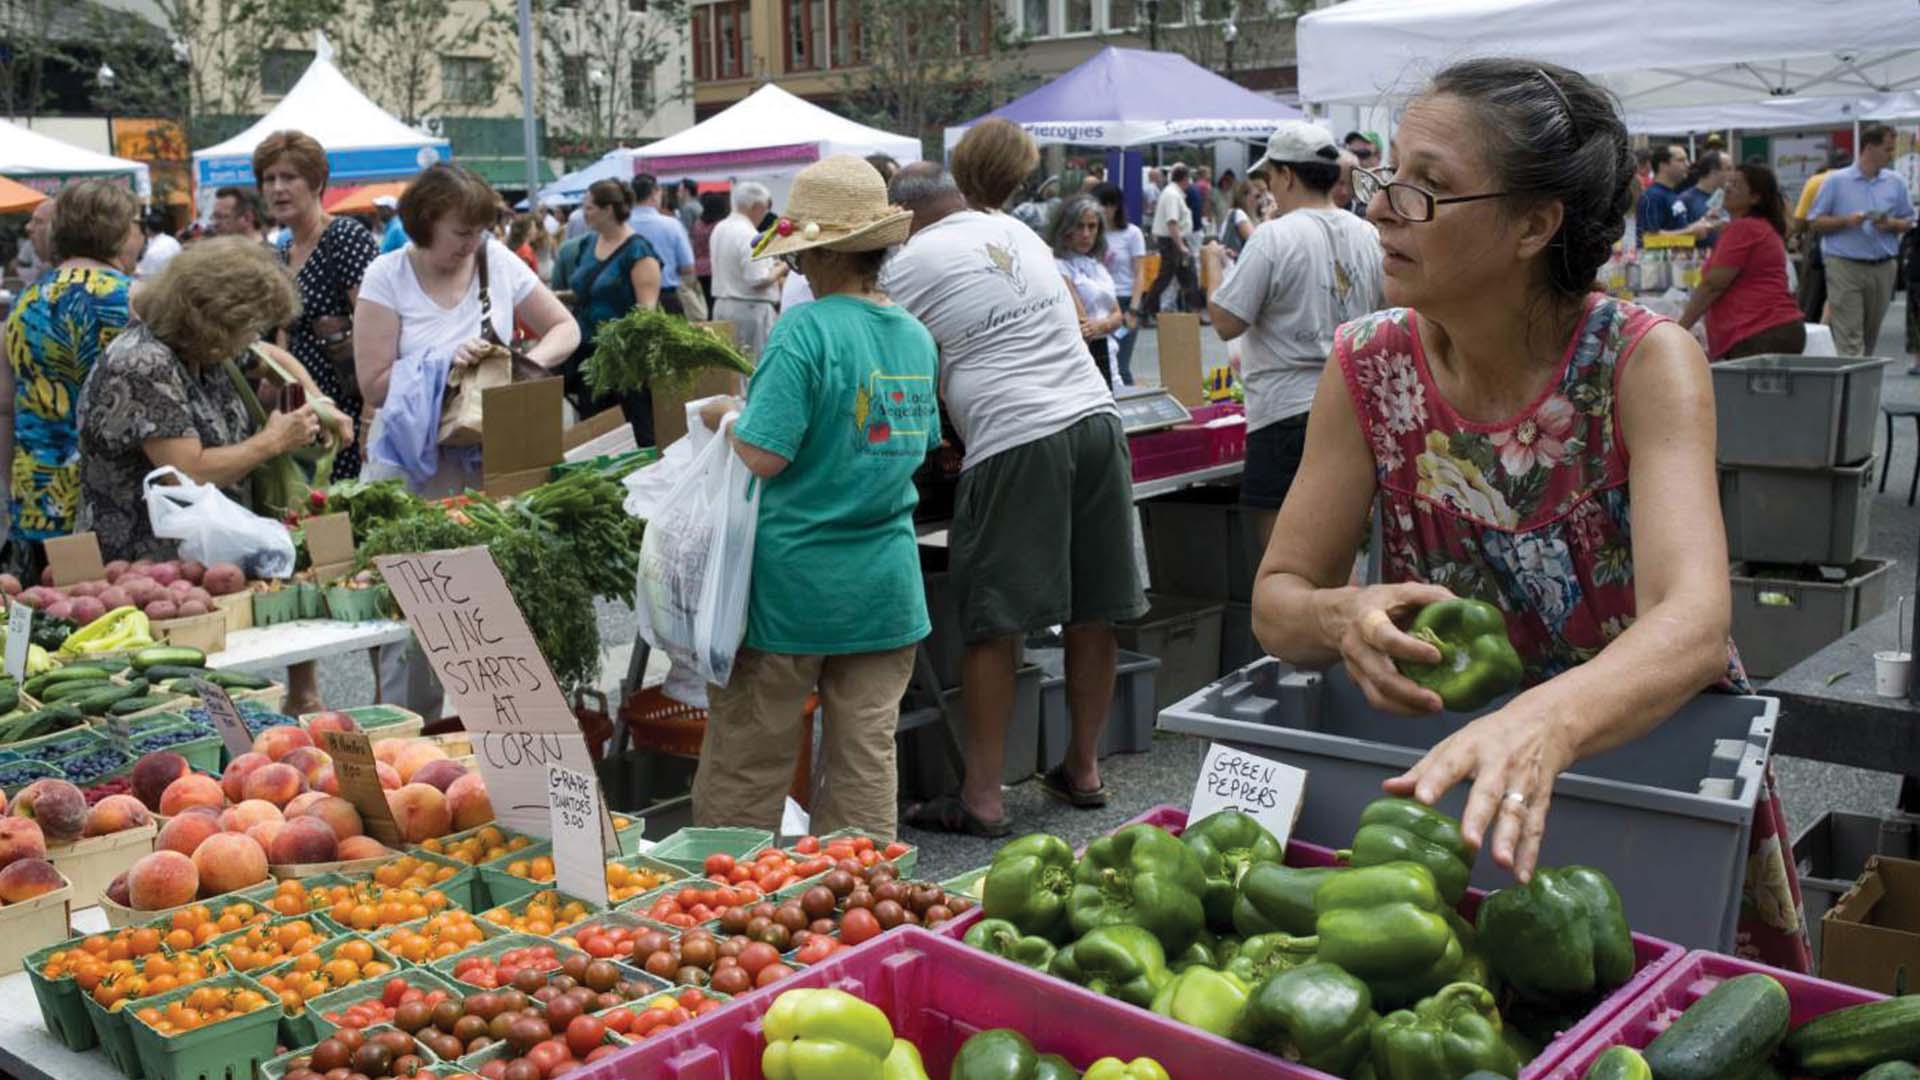
Microgreens are a nutrient-dense and easy way to increase your daily servings of plant-based foods. Instead of purchasing them from farmer’s markets, however, you can grow them easily at home.

These greens grow quickly and are typically ready to harvest in less than a month, making them perfect to grow in small spaces by novice gardeners.
“Anybody who’s interested in eating them could grow microgreens; it’s easy and it’s cheap to [grow] one tray,” says Tami Purdue, a microgreen farmer and the owner of Sweet Peas Urban Gardens.
Experts suggest starting small with one to three varieties until you get used to growing them. Since watering needs and germination rates vary based on the variety, beginning with just a few varieties will make it easier to observe the plants and note their individual needs.
Microgreens are ready to be harvested and eaten when the microgreen stem is 1.5 to 2 inches tall and the first two leaves have formed.
Microgreens consist of leafy greens like arugula, kale, broccoli, cabbage, etc. Be cautious though because some vegetables such as tomatoes, eggplants, peppers, and potatoes can grow microgreens that are poisonous “because they contain alkaloids that are toxic to humans,” says Lorna Bravo, the director of the Broward County Extension at the University of Florida’s Institute of Food and Agricultural Sciences.

Advertisement
To grow microgreens, begin by choosing a tray or shallow plastic container with drainage holes and placing a plate or another tray underneath. Commercial growers typically use 10-by-20-inch trays, which should yield between 10 and 16 ½- to ¾-ounce servings of greens.
Fill the container with one inch of potting soil or coconut coir. Because the plants can have wildly different germination times, experts recommend planting only one microgreen variety in each container.
Using any vegetable or herb seed, sprinkle the seeds evenly over the soil leaving them exposed but ensuring that they’re not on top of one another. After sowing the seeds, add weight such as bricks to help the seeds take root.
Water them from the bottom and keep the soil moist but not soaking wet. Store the trays in a dark room until the seeds germinate. Once they emerge, place them by a window that receives at least six hours of sunlight each day.
“The more sunlight you give them, it’s going to produce more chlorophyll and make bigger leaves,” says Kasey Diffie, a microgreen grower and the co-owner of Joe’s Microgreens.

Keep the plants in an area with temperatures ranging from 60 to 70 degrees Fahrenheit and good air circulation to reduce mold or mildew growth. Once the first two leaves have fully formed, the plants are ready for harvesting.
Harvest by using a knife to cut the microgreens near the soil level. Ensure you don’t wait too long to harvest because, once the third leaf grows, the flavor can change from nutty to bitter. Once harvested, these greens can be added to salads, roasted vegetables, smoothies, sandwiches, or as a garnish for stews and soups.